Three Easy Steps on How to Make a Blurry Picture Clearer

Pixelated photos are blurry and unclear images of low quality. The most common cause of image pixelation is enlarging a small image to make it larger. The image’s size changes due to this, but the resolution remains unchanged. Photos that have been scanned may appear pixelated as well. As a result, you’re looking for a way to fix pixelated image.
But hold on! It is not impossible to restore a pixelated image. Though the picture would never completely solved but I’ll show you how to make a picture less blurry in this post, so you never have to deal with low-quality, fuzzy, or distorted images again. Try to finish reading this article and follow the step-by-step instructions.
Common Ways to Fix Pixelated Images
Method 1: Photoshop
If you have a little more time and Photoshop, you can do a lot to repair a pixelated image. Photoshop is the essential image editing software. Here are some simple steps; these steps below will show you how to fix pixelated pictures in Photoshop in seconds.
Open Photoshop and the image you’d like to edit.
- Select “Filter and Blur” from the drop-down menu.
- Select the ‘Gaussian Blur’ option and slide to find an appropriate range.
- Select OK.
- Select ‘Filter and Sharpen’ from the drop-down menu.
- Choose “Unsharp.”
- Slide until you get the results you want, then click OK.
Method 2: Paint. Net
Paint.NET is a good option for Photoshop if you don’t have it. It’s a free photo editing software capable of doing a wide range of simple picture editing tasks. Paint.NET can help you fix a pixelated image in a few steps:
- In Paint.NET, open the image you would like to work with.
- All three options should be chosen: ‘Effects,’ ‘Blur,’ and ‘Gaussian Blur
- With the slider, you may reduce the pixel impact.
- The options include ‘Effects,’ ‘Photo,’ and ‘Sharpen
- Use the slider to pick a suitable level.
Method 3: Fotor
Fotor is a great online image restoration application that can be used for resizing, rearranging, and redesigning photographs, among other things. Fotor can be used to fix pixelated image. Here’s how to do it step by step:
- Upload the pixelated photos to Fotor’s official site.
- Then choose Pixelate from the Effect option on the left menu.
- Finally, select the settings to eliminate pixelation using the scroll bar.
Method 4: Use Professional Software to Fix Pixelated Image
Wondershare Repairit is an all-rounder that can cure practically any issue with your media on your device as third-party application software. We’ve covered you, from pixelated images to damaged JPG/JPEG photos. The software aids in the repair of corrupted or damaged photographs that would otherwise be inevitable with any other type of editing tool or software. Here is the step-by-step guide on how to fix the pixelated image.
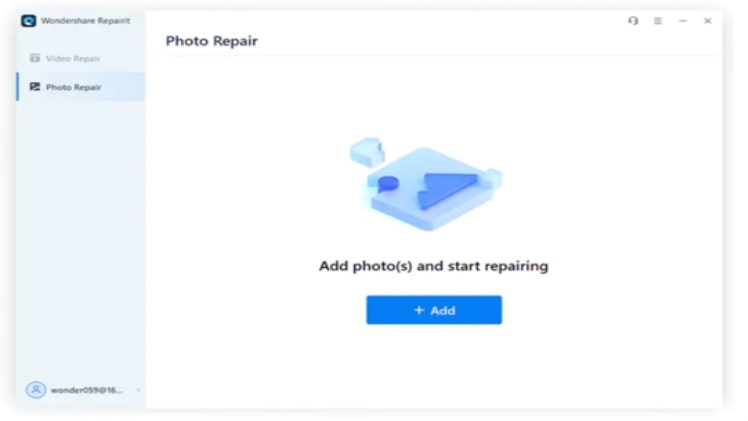
Step 1: Add Photo
Open the Wondershare Repairit photo repair software and select File Repair as the first option. On the Screen, there is an Add button.
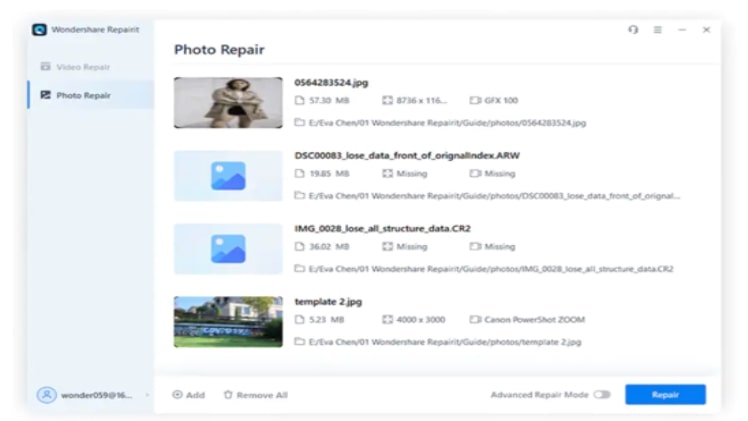
Step 2: Repairing the Pixelated Image.
Click “Repair” when you’ve finished uploading photographs to begin the repair process. You can pause the repair at any point while it is in progress.
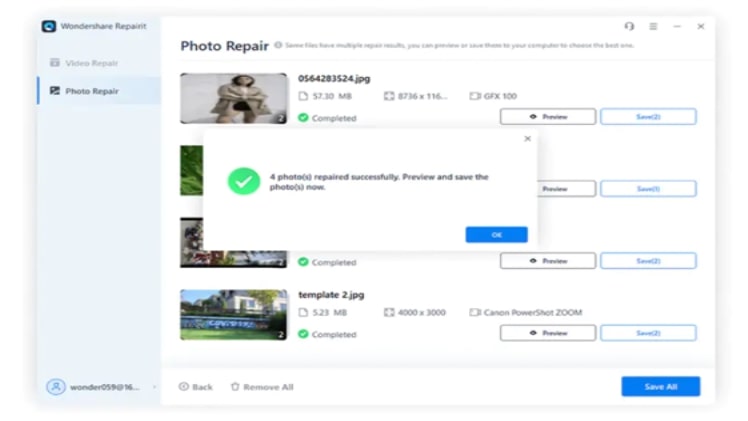
Step 3: Review and save your work.
The browser will begin loading when you click the repair button. The browser will notify you when the mending procedure is finished and provide the overall result. To save the Pixelated photos, go to the displays save button and choose a location to save them.
Why You Choose Wondershare Repairit
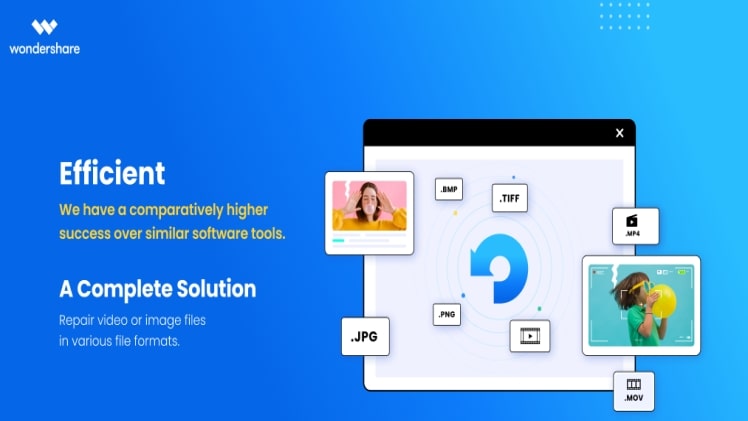
Repairit software is a simple and effective video/picture repair program that can fix minor and significant issues with broken or corrupted films and photographs. The software is notable for assisting users in repairing broken or damaged media files in just two to three stages. It works with most Windows and Mac devices and can fix corrupted video and photo files in several formats.
Some of Repairit’s features include:
- The repair program is really simple to use.
- The repair procedure is secure and free of viruses.
- Because the tool can fix multiple files, users can load as many photos or movies as possible.
- The application may also fix the thumbnails of files that have been significantly damaged.
- You can see a preview of all the files that have been fixed.
- The advanced repair feature may correct various serious video faults, such as blur, audio synchronization, metadata loss, and black screen.
- The numerous repair options assist you in resolving picture corruption issues such as gray spots, pixelated photos, and photos that won’t open.
Is It Possible to Keep My Photo From Being Pixelated?
Yes, you can keep your photos from becoming pixelated, but this isn’t always possible. Some of the most acceptable ways to reduce the chances of pixelation are listed below:
- Don’t use a camera with a high ISO setting. (This only applies if you’re using a DSLR or other camera that allows you to change the ISO manually.)
- Avoid utilizing photographs with low resolution.
- Use the proper camera settings.
- Keep the camera steady.
- Concentrate, concentrate, concentrate.
Conclusion
The previous ways for restoring pixelated photos in Photoshop are pretty basic and help you obtain outstanding results with little effort. If you come across a pixelated image in the future, you won’t have to be afraid. I am confident that by attempting the solutions mentioned above, you will be able to resolve your pixelated image issues. Wondershare Repairit Photo Repair software, on the other hand, is the most outstanding solution for resolving blurry or pixelated images. It has basic to advance features to repair photo in just three steps and give you a best result.


